

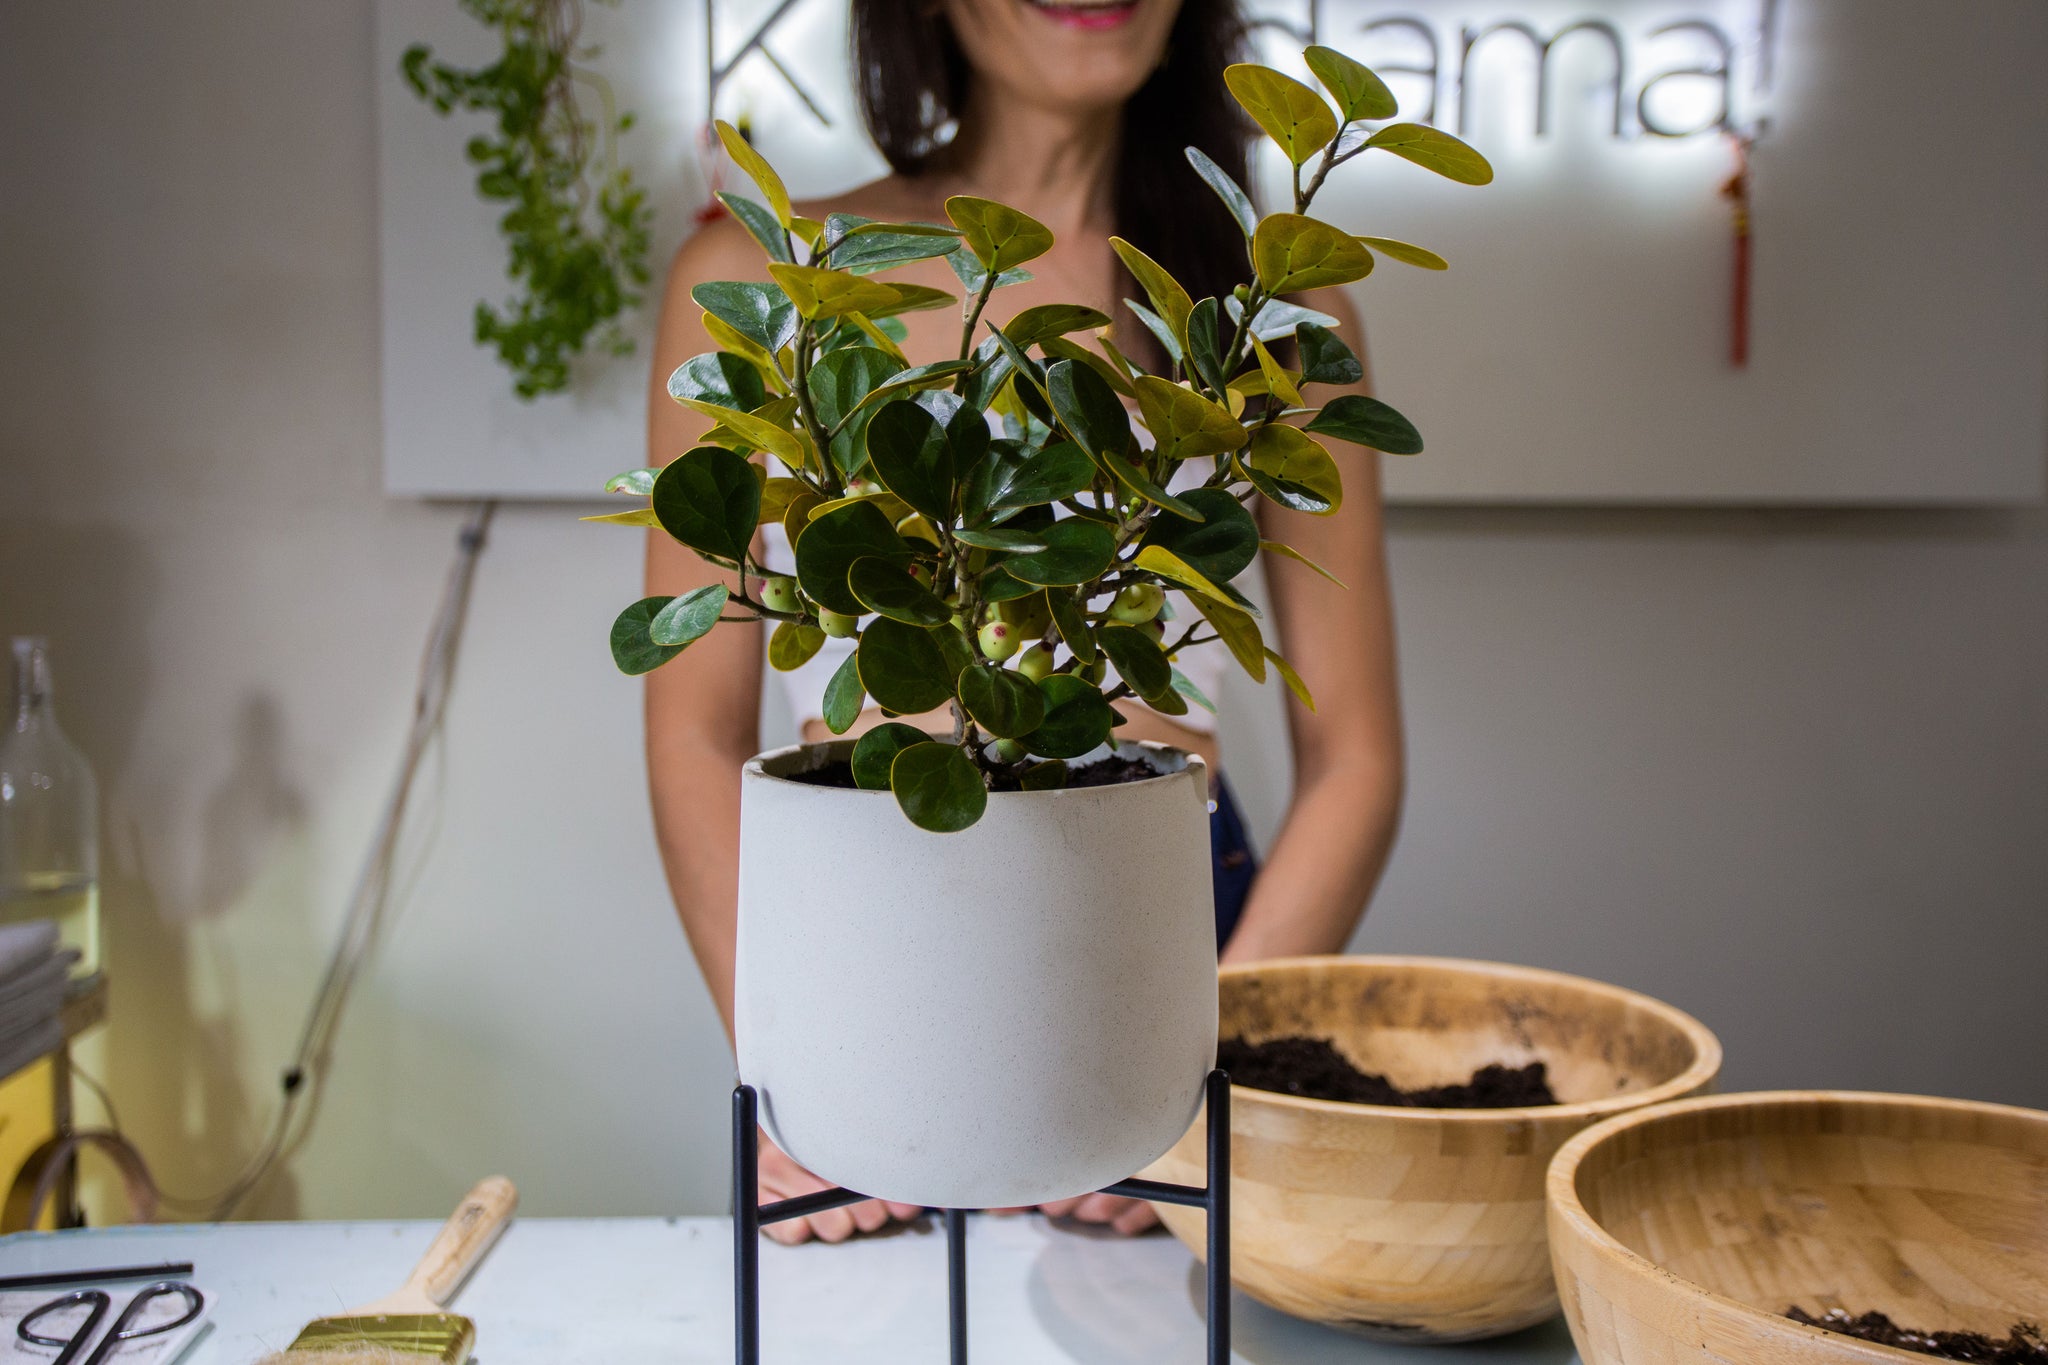
Transplanting with Cece Chow

There comes a time in every plant parent’s journey when your plant baby has reached the limits of their current home. This might mean that your plant baby isn’t so baby anymore and has grown so big that their roots are taking up all the space in their pot or that they are tipping their pot over. Alternatively, you may have had your plant in the same pot of soil for quite some time and start to see signs of nutrient deficiency such as growing new leaves, but dropping all older leaves. In either case, it might be time to give your beloved plant baby new soil, and potentially a newer, bigger home.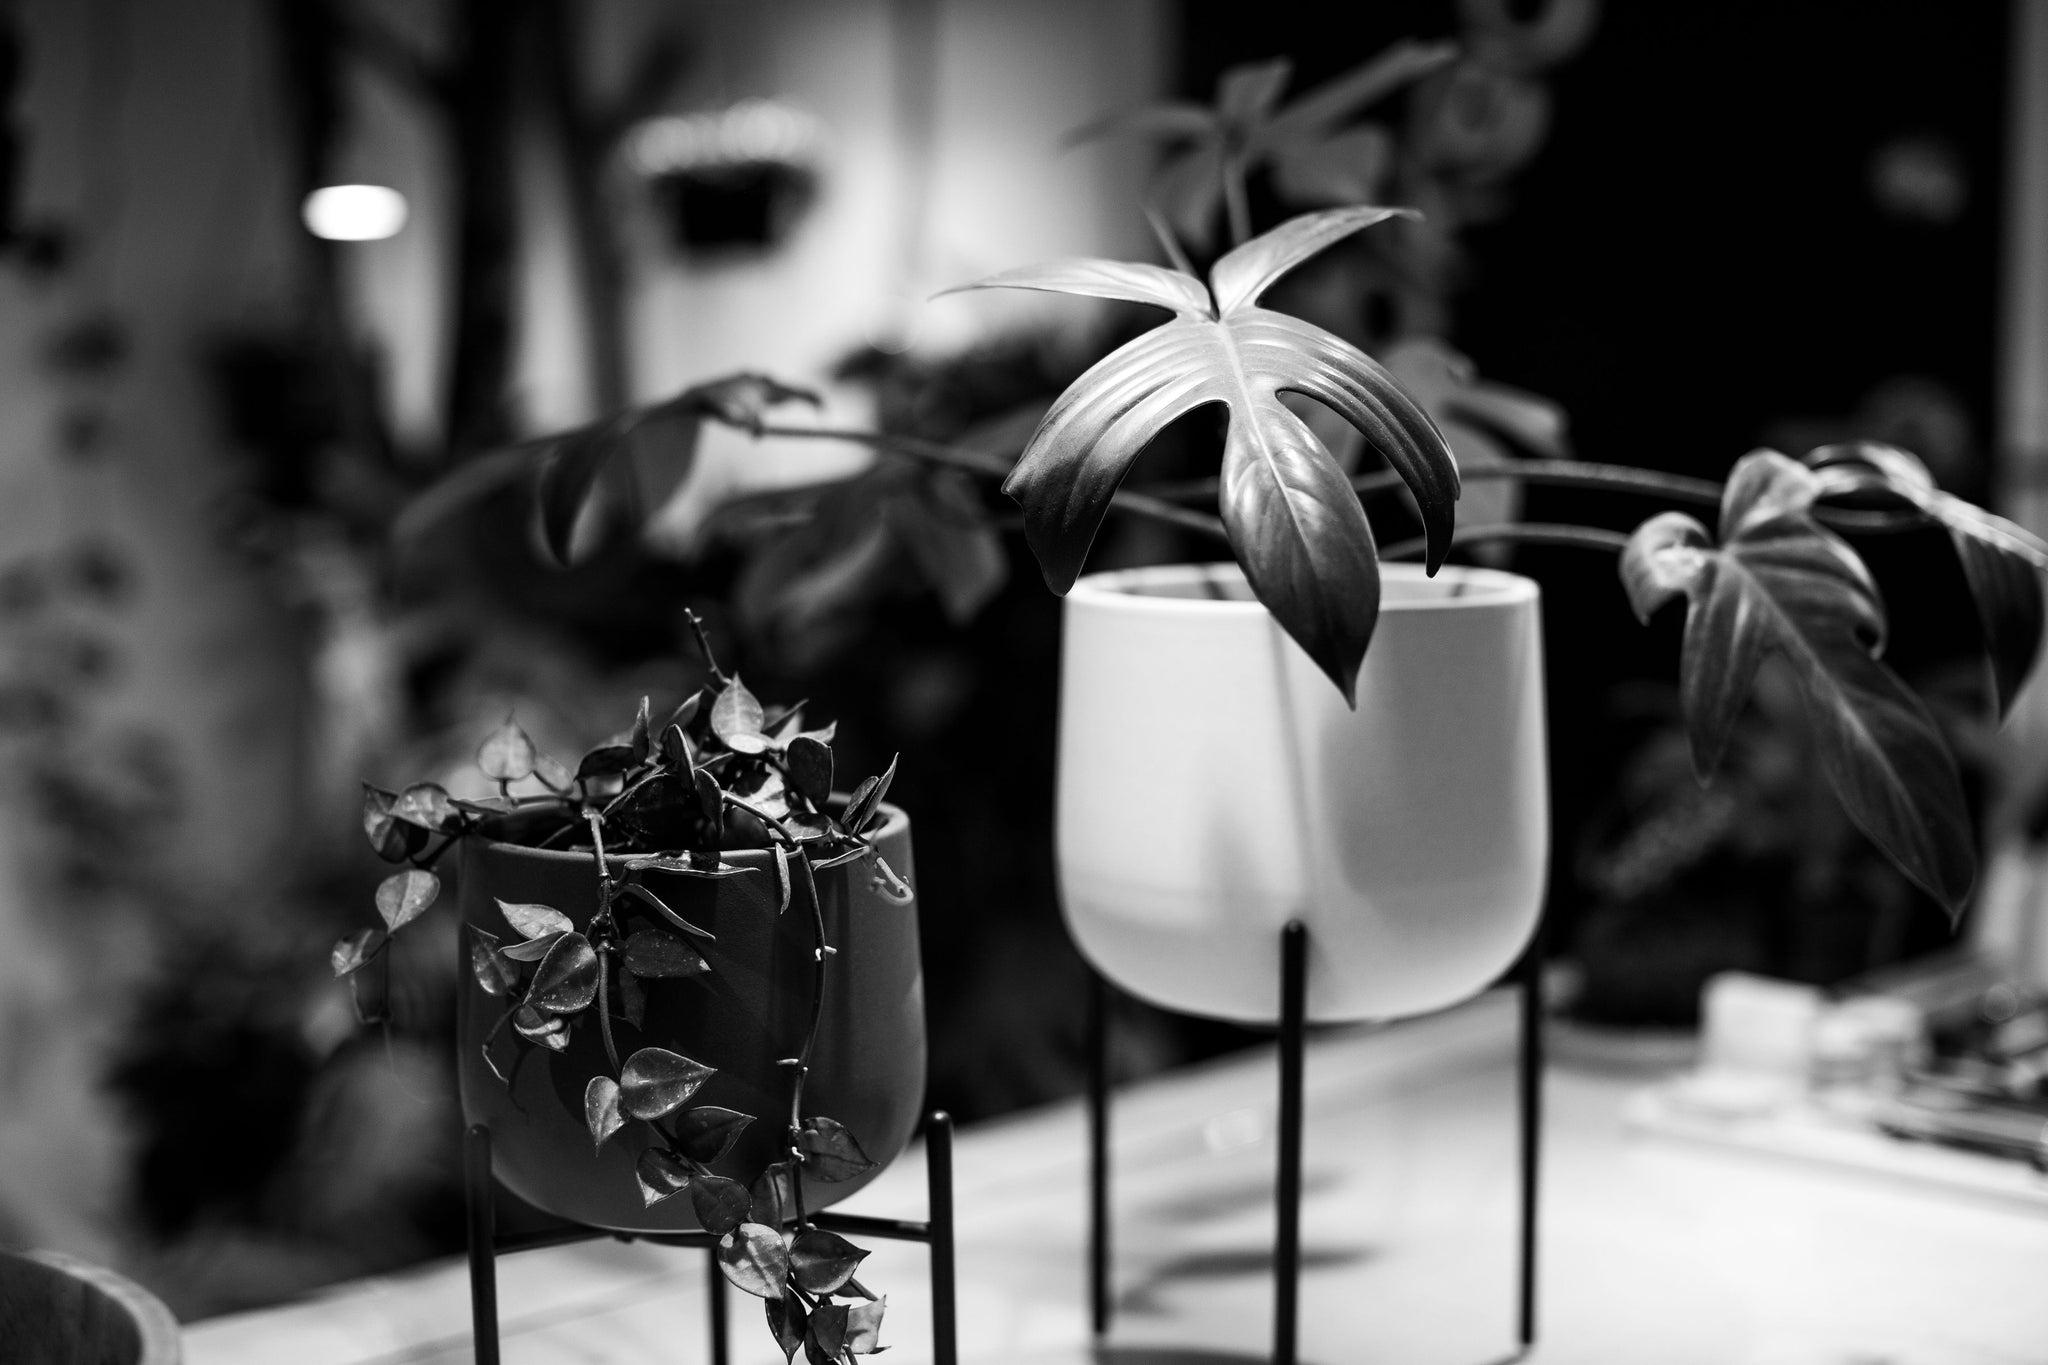
If you’ve just brought a new plant baby home and have a brand new pot for them, it can be tempting to repot them right away. Fight the urge and let your new plant adjust to their new surroundings for a couple of weeks before repotting them.
Repotting can sound intimidating, but it’s easier than it might seem at first.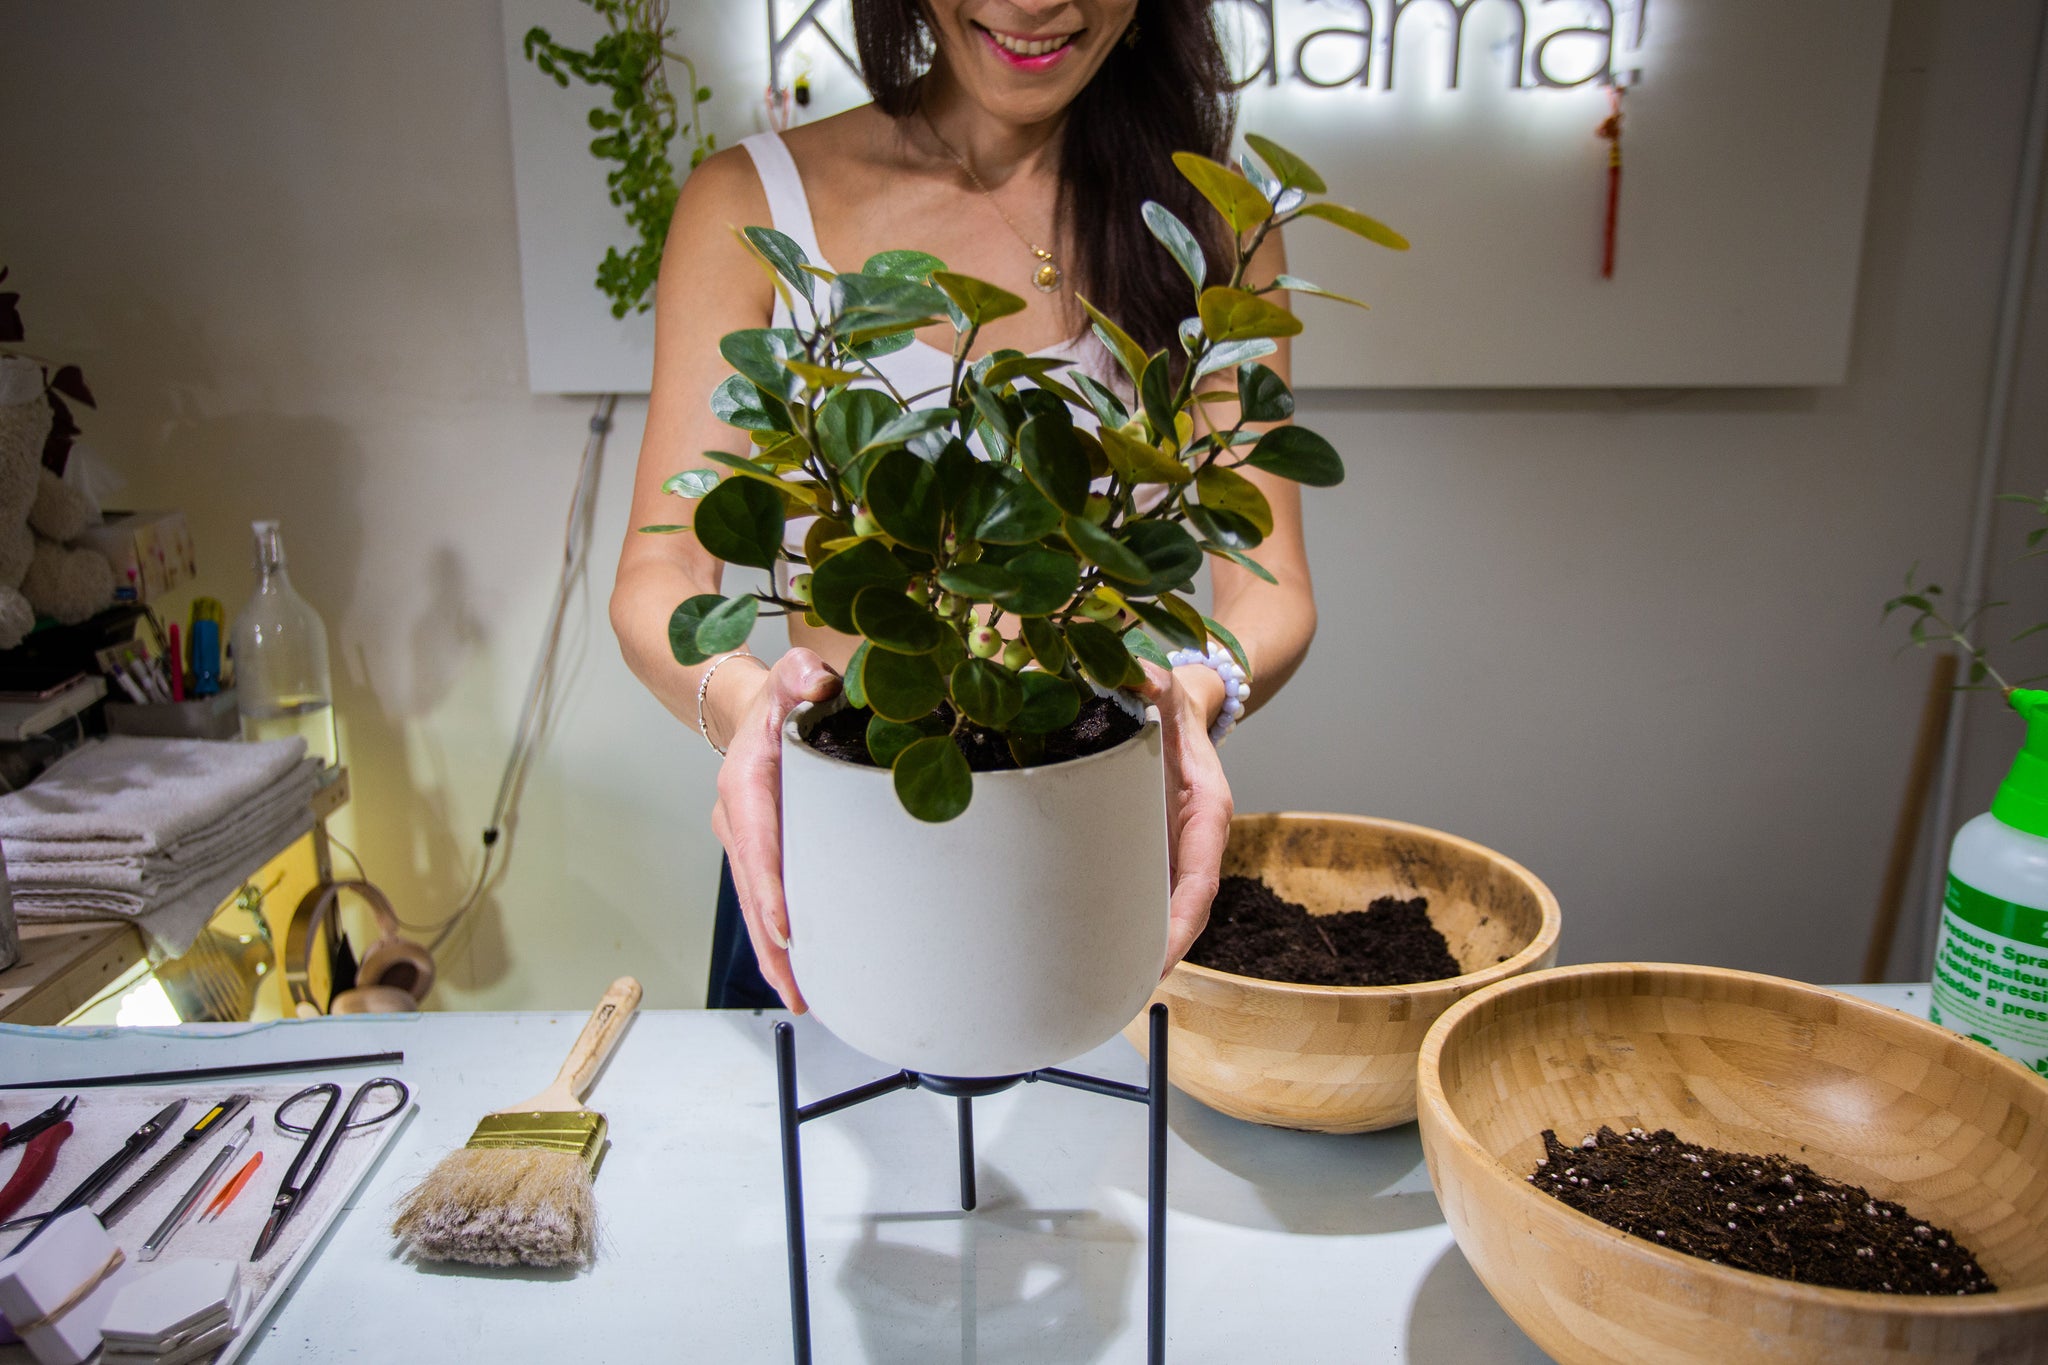
MATERIALS
- Fresh potting soil appropriate for your plant baby. Make sure cacti and succulents get a well-draining soil mix.
- New pot for your plant. Pots with drainage holes in the bottom are best. If your pot doesn’t have drainage, it just means you’ll need to be more diligent about checking hydration levels.
- A pebble that is a little bigger than the drainage hole of your pot. If your pot has more than one drainage hole, one pebble for each hole.
- A stick-like tool. Like an old takeout chopstick or bamboo skewer.
- Water for watering your plant.
- A well-lit, spacious workspace that is easy to clean up.
LET'S BEGIN
-
Lay out your materials.
Place your materials so that they are within easy reach. You’ll often be holding your plant with one hand and doing the rest of the work with your other, so it can be very helpful to have everything within arm’s reach. If your new soil is in a new package, open the package now, before starting.
-
Remove the old pot from your plant.
If it is a soft plastic grower pot, give the sides of the pot a few firm squeezes on the sides to loosen the soil from the pot. If the pot is a ceramic or hard plastic pot, use your stick tool and slide it down between the soil and pot in 4 to 8 spots along the circumference of the pot to loosen the soil from the pot. Once the soil is unstuck from the pot, turn the plant on its side while supporting the plant with one hand. Slide the pot away from the mass of soil and roots. Set the old pot aside.

-
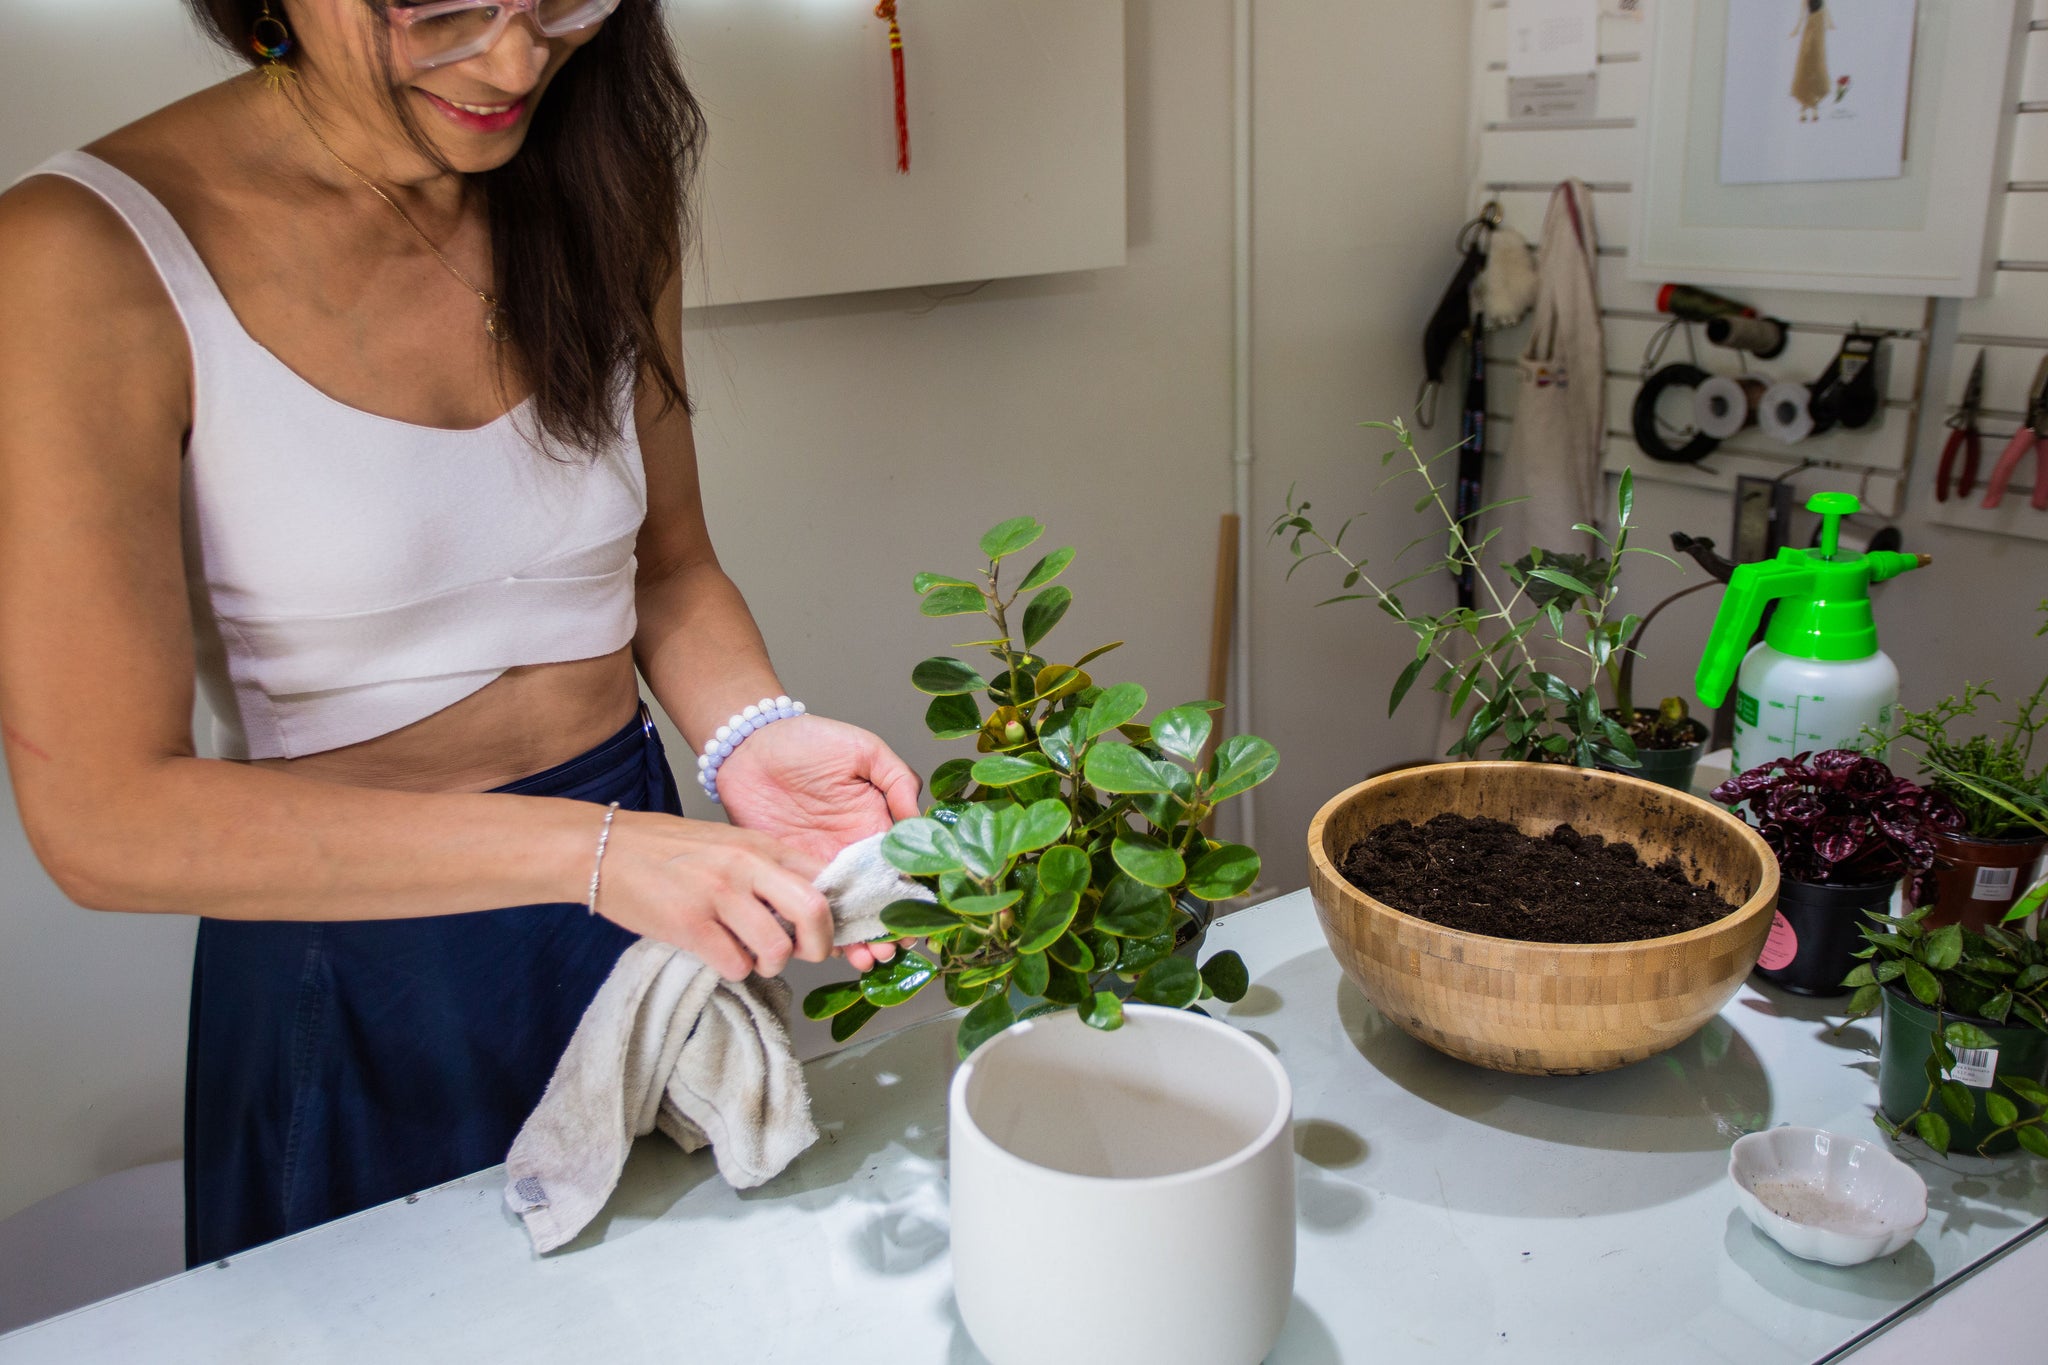
Gently remove the old soil.
Remove the old soil by gently massaging the soil and roots with your fingers. Try your best to keep the roots of your plant intact, but some breakage is almost inevitable. This is normal. If the roots are very tangled or the soil is caked together, use your stick to poke the soil from all sides to break up the soil and help remove it from the roots. It is not imperative to remove all the soil. Simply take out as much as you feel can be safely done.
-
Inspect the roots of your plants.
This is a great opportunity to see how the roots of your plant have been doing. Healthy plant roots should be firm and generally light-coloured. If the roots are quite dark and mushy, then you may have been over-watering and should water a bit less going forward. An exception to the dark roots are ferns. Ferns tend to have dark roots, but healthy ones should still feel firm.

-
Pre-measure potting depth.
Hold your plant in the opening of the pot at the level you’d like them to sit and take note of how deep most of the roots hang. Remove your plant. Before adding soil, put one pebble on top of each drainage hole. This will keep soil from falling through while still maintaining good drainage. Fill the pot with new soil, gently pressing it in, up to the previously noted root level.
-
Pott’r up.
Place your plant back in the opening of the pot holding it in the spot that you’d like them to sit. With your other hand, start filling in the pot with new soil. Make sure to add soil all around the roots and plant. When the soil is filled to a couple of centimetres of the top of the pot, press gently with your fingers then use your stick to poke through the top of the soil all the way to the roots. We’re trying to get the new soil to work its way between the roots of our plant. It is very important for plants to have good soil-to-root contact to facilitate water and nutrient uptake. If there are too many large pockets of air, a plant may not be able to get enough water and food to sustain themselves. You may see that the soil level settles to a lower level. If so, repeat adding soil, pressing, and poking until the soil settles to the level that you’d like.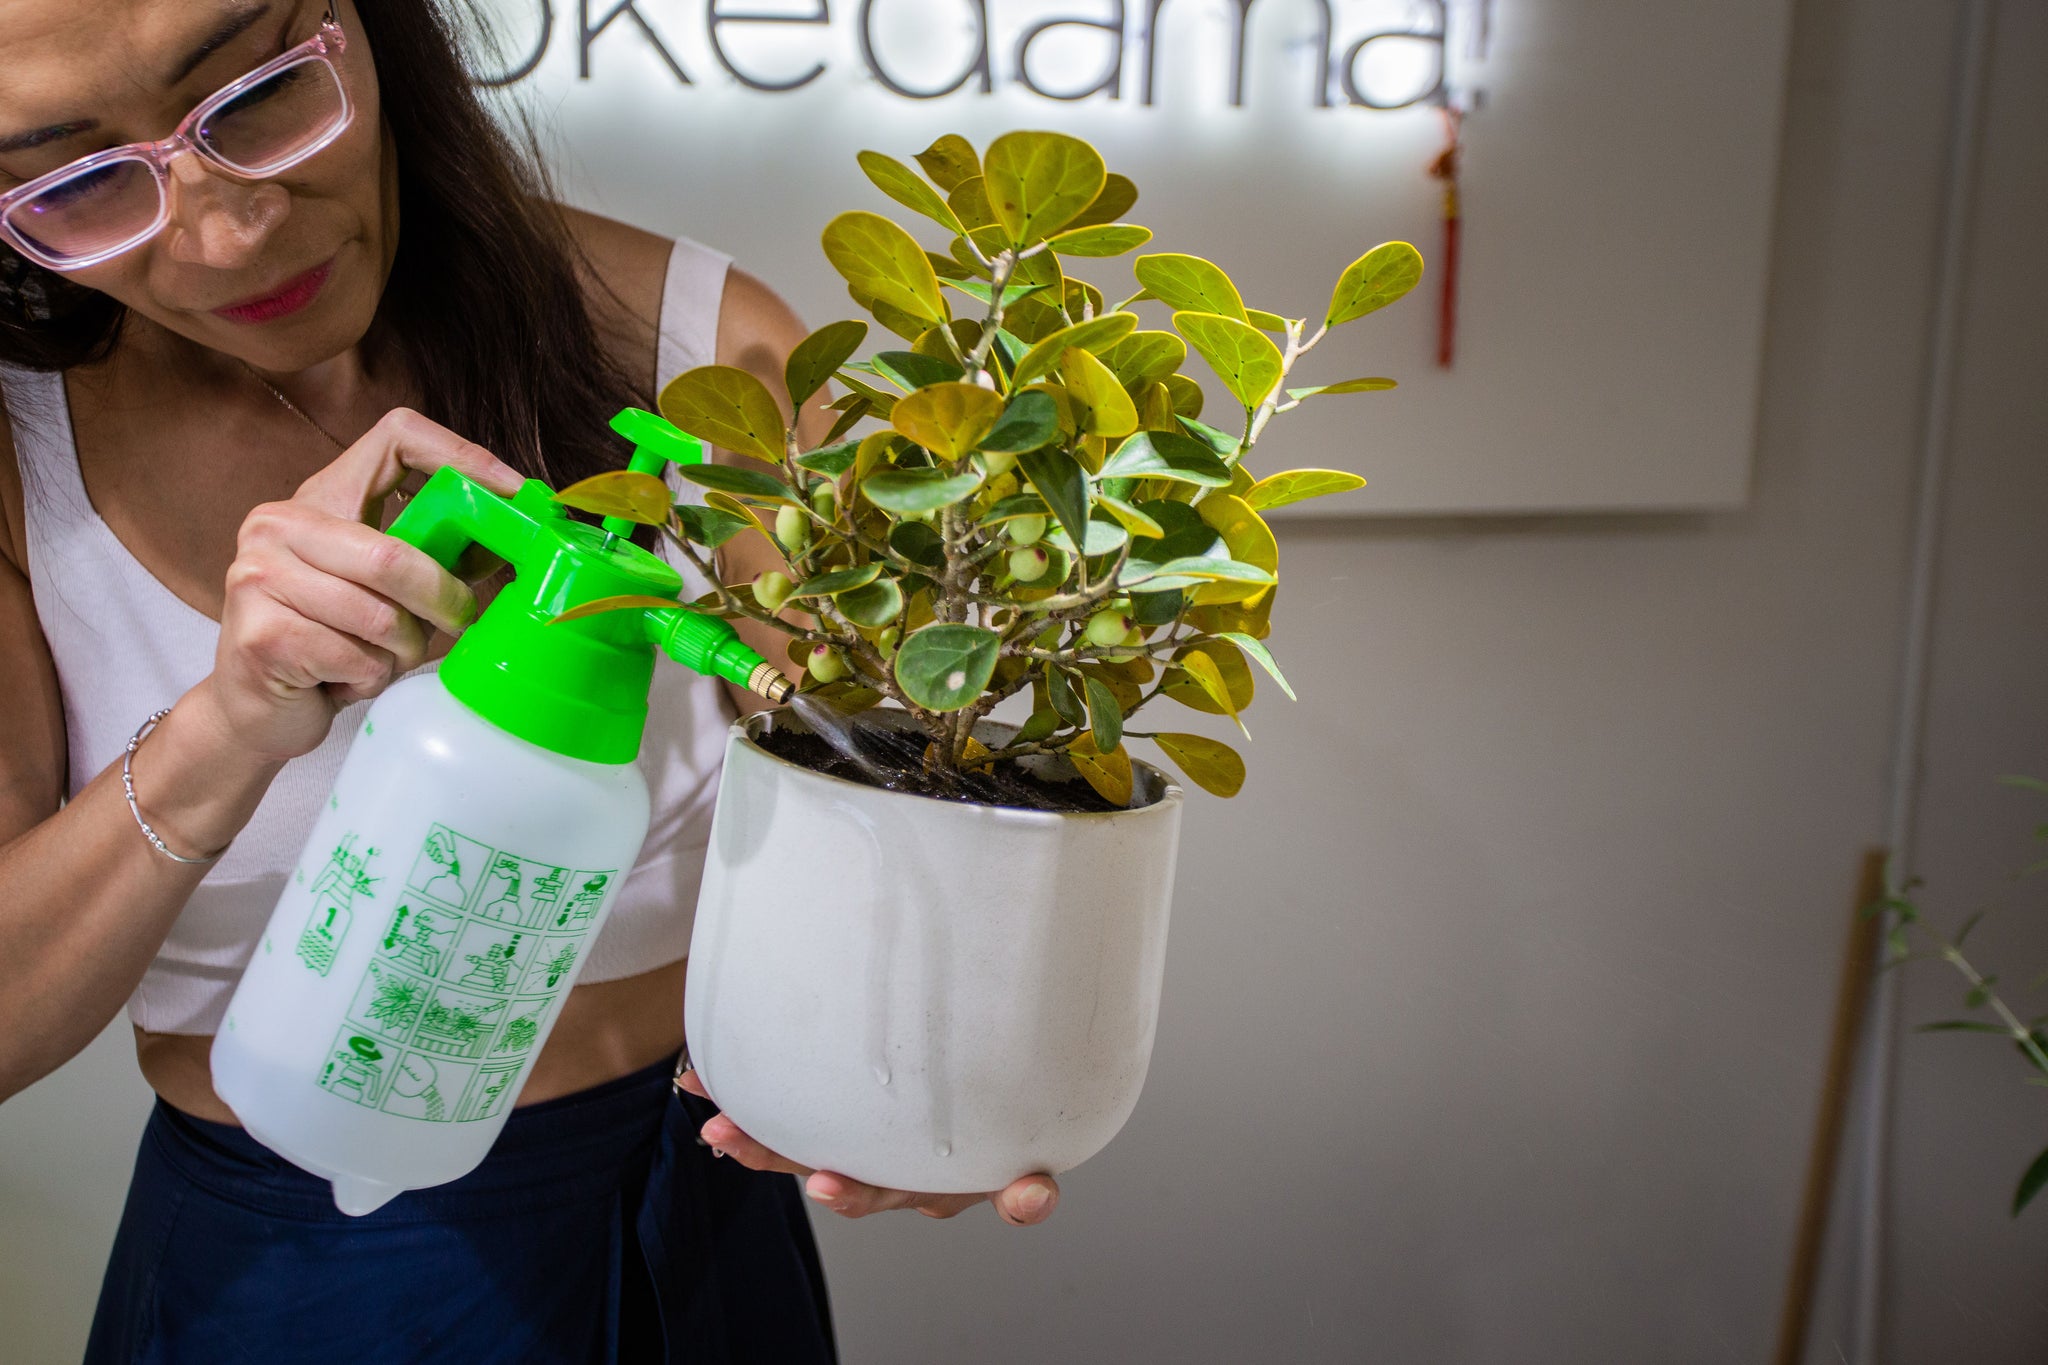
-
Water well.
Now that your plant is all snuggled into their new home, give them a thorough watering. If you have a drainage hole in your pot, allow the water to flow through the pot and out the drainage hole(s). Once they are no longer dripping, place them in a spot that has the appropriate amount of light for their best health.
-
Enjoy.
You did it! Congratulations on repotting your plant baby. They will no doubt enjoy the fresh nutrients and room that their new home provides.
0 comments